On this page
- Turn the power disconnect switch off before cleaning and back on afterward. 12
- Baking soda in warm water for the interior; no ammonia, bleach or metal pads. 12
- Door gaskets: every three months, then a light film of petroleum jelly. 12
- Ice bucket and shelves are never washed in a dishwasher. 12
- The condenser interval differs by guide: 6 months, 12 months, or maintenance-free in normal use. 123
What should I clean in a Viking built-in refrigerator, and how?#
Start with the power disconnect switch, since both manuals warn of electric shock. Then wash the interior with baking soda in warm water, clean removable parts and plastic by hand with mild detergent, and wipe the gaskets. The chart in each guide lists what suits each part. 12
The two manuals, one for the 7 Series integrated model and one for the 5 Series built-in, share the same chart almost line for line, so the table below works for either.
| Part | Use | Avoid |
|---|---|---|
| Interior surfaces | Baking soda dissolved in warm water (four tablespoons to a quart), soft cloth 12 | Ammonia, chlorine bleach, concentrated detergent, solvents, metal pads 12 |
| Shelves, drawers | Mild detergent, warm water, hand wash and dry 12 | Dishwasher 12 |
| Stainless door panels | Stainless steel cleaner, soft cloth 12 | Chlorine bleach (painted panels) 12 |
| Door liners and gaskets | Mild detergent and warm water 12 | Cleaning waxes, concentrated detergent, bleach 12 |
| Plastic covers, panels | Soft sponge, mild detergent 12 | Paper towels, window sprays, scouring pads 12 |
For the interior walls, the chart adds a point for the freezer: allow it to warm up first, or the cloth will stick. 12
How do I take a glass shelf out and wash it?#
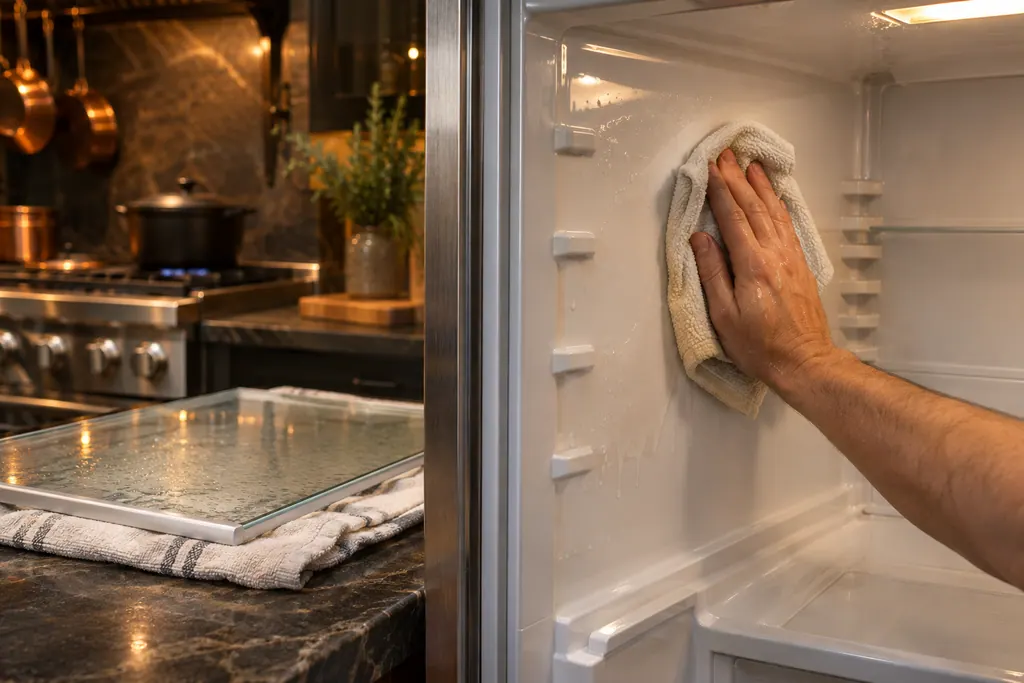
Lift the front of the shelf and release its hooks from the metal track, then pull it straight out. Let a glass shelf come to room temperature before washing. Wash it with mild detergent, dry it, then hook it back into the track and lower the front. 12
Both guides caution that tempered glass shelves can break suddenly if nicked, scratched or exposed to a sudden temperature change. 12 The 5 Series guide adds a method for crevices: brush diluted mild detergent into them with a plastic-bristle brush, let it stand five minutes, then rinse with warm water from a sink spray. 2 Wire freezer shelves on the 7 Series tilt up at the front to release their hooks. 1
How often should the gaskets be cleaned?#
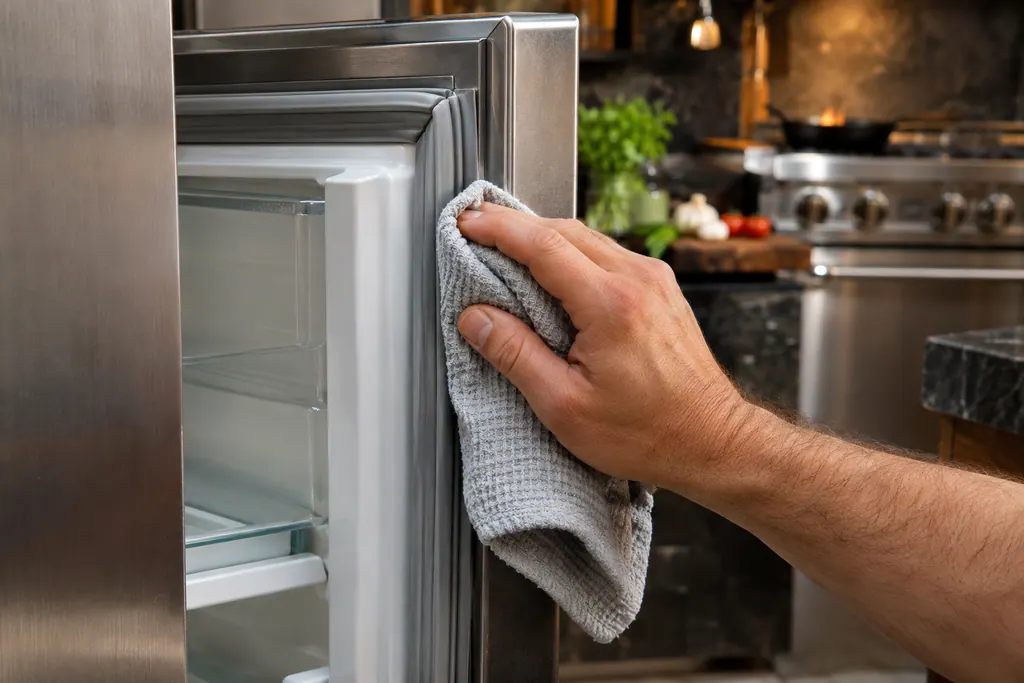
Every three months, with the same method as the interior. Afterward apply a light film of petroleum jelly to keep the gasket pliable. Waxes, concentrated detergents and cleaners with chlorine bleach are not for the gasket. 12
Quarterly is the interval both guides give. Wipe along the fold, dry the gasket thoroughly, then add the thin film. Our door gaskets entry describes what the part does.
What is the drip pan on a 5 Series, and when do I check it?#
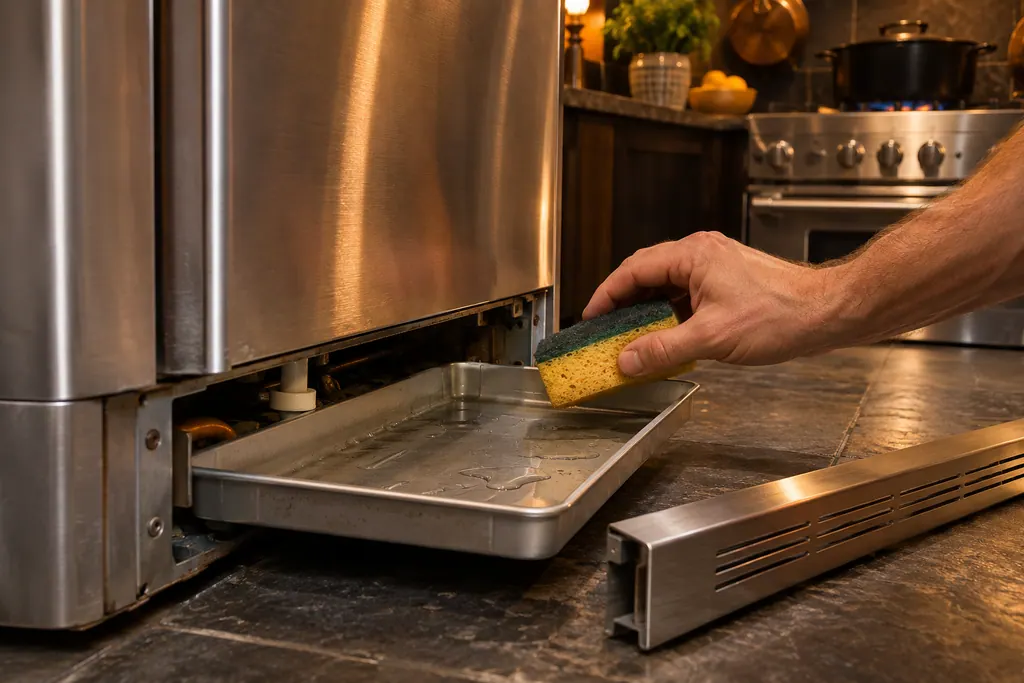
The 5 Series guide describes a defrost pan under the unit. To stop condensation overflowing, check it from time to time: remove the two screws that secure the kick plate, pull the pan forward until it stops, take out any extra water, wipe it with a sponge, and return everything. 2
The troubleshooting table says water in the defrost pan is normal in hot, muggy weather, provided the pan is level so it does not overflow. 2 A warning in the guide says not to touch the condenser coils near the pan, because doing so can cause burns. 2
- 1
- 2
- 3
- 4
- 5
How often does the condenser need cleaning?#
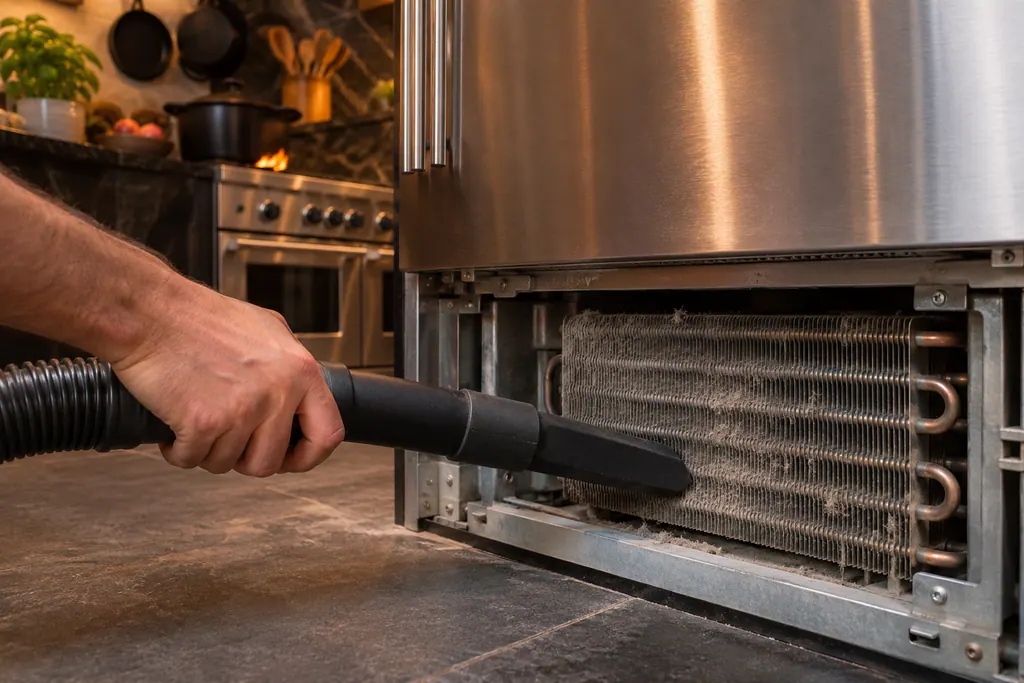
The guides differ on this, and we show both. The 7 Series guide recommends every 6 months and sooner after dusty work nearby. The all-refrigerator user guide prints 12 months in one chapter and 6 in another. The 5 Series guide calls its condenser maintenance-free under normal conditions. 123
On a 7 Series, a blinking CL on the temperature display means it is time. The steps, which include removing the kick plate and the access panel and vacuuming the coil rather than using a duster, sit on our CL page and are left out here. 1 The reset is pressing the up and down arrows together for 3 seconds. 1
The integrated user guide gives the reminder as every 12 months in the settings chapter and every 6 months in the care chapter, then says to reset the warning for 12 months after cleaning. 3 If your unit shows a Clean Condenser message, follow the message. The 7 Series guide names pet hair and dust, and says to clean sooner after construction or work that makes dust near the unit. 1
What about the ice maker, filter and Bluezone reminders?#
Three reminders belong in the same routine. On a 7 Series, the FILTER button lights when it is time to change the water filter, and pressing it resets after you replace the filter. A Bluezone message appears along the bottom of the display when the bulb needs replacing. 1
The Bluezone bulb is described as lasting about two years, and the alert clears by holding the refrigerator selector key for 3 seconds once the replacement is fitted. 1 For the ice maker, the arm raises and lowers during production, and you stop ice production by lifting the arm until it clicks. The guide asks you not to force the arm past its stop and not to store anything in the ice bucket. 1 Discard the first three drawers of ice from a new unit. 1
How do I leave the refrigerator for a long absence?#
For under four weeks you need not switch it off; use or freeze perishables and, on a 5 Series, raise the ice maker arm and shut off its water. For a month or more, empty it, switch the power off, clean it and the gaskets, and prop the doors open. 12
Propping the doors lets air circulate and, the guides say, stops odor and mold building up. 12 On a 7 Series, vacation mode is the short-absence step. 1 Short power cuts are a separate case, covered in our guide on alarms on a built-in refrigerator.
What helps a technician when cleaning changes nothing?#
Give the series and model, the last date the gaskets and condenser were cleaned, whether CL or a Clean Condenser message is showing, whether the drip pan overflowed and how the cabinet temperature behaves.
- When was the condenser last vacuumed?
- Does the reminder return soon after a reset?
- Is there water under the unit or in the pan?
- Do the gaskets feel stiff, torn or sticky?
Our refrigerator service page lists what we cover, and the condenser entry explains the part.
Sources#
- Use & Care MANUAL / 7 SERIES / Integrated All Refrigerator / Integrated All FreezerViking Range, LLC (official manual PDF) · form 062222-000 (052518) · PDF p.10 (ice maker), p.11 (food storage), p.12 (interior and cleaning chart), p.13 (CL, shelves, gaskets), p.14 (Bluezone), p.15 (vacation)
- Use & Care MANUAL / 5 SERIES / Built-in All Refrigerators and All FreezersViking Range, LLC (official manual PDF) · form F21338G EN (022818) · PDF p.14 (cleaning, gaskets, drip pan), p.15 (cleaning chart, condenser), p.16 (vacation tips)
- User Guide / All Refrigerator / All Freezer / Bottom MountViking Range, LLC (official manual PDF) · printed code 080725 · PDF p.31 (maintenance reminder), p.42 (cleaning the grill, filter and condenser)