On this page
- The same five steps appear for the 3 Series wall ovens and ranges, the 5/7 Series electric ovens and the 7 Series ranges. 1234
- The bulb is halogen; match the volt and wattage listed on the glass cover. 1234
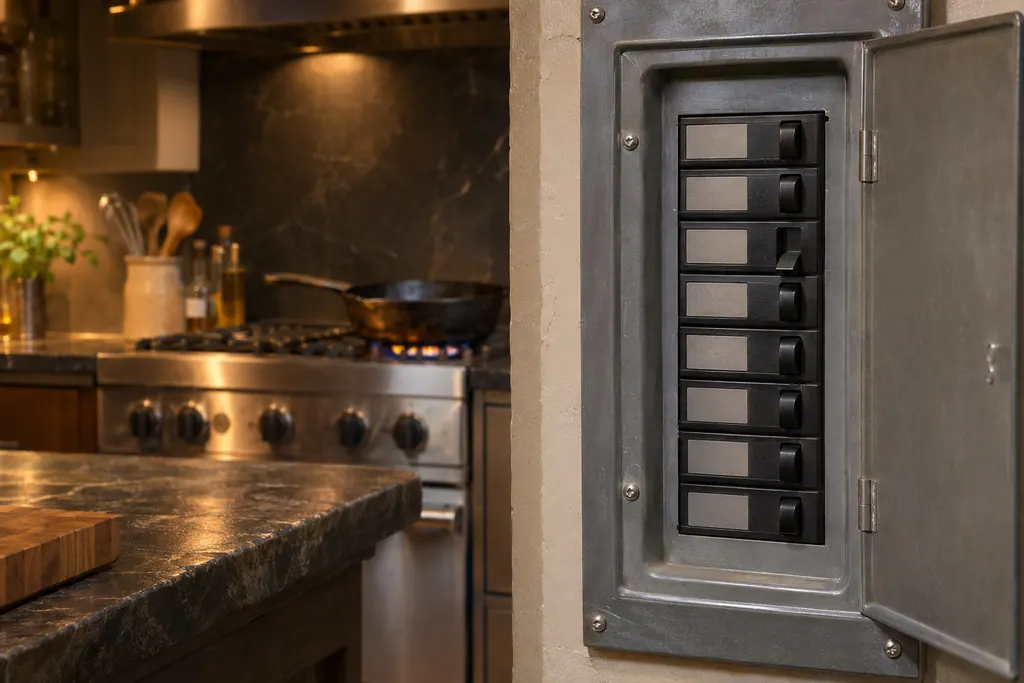
- Disconnect power at the main fuse or breaker first; touching the bulb with bare hands is warned against. 1234
- The manuals print no bulb part number. 1234
- A light that will not work is listed as a burned-out bulb or no power to the oven. 1234
Which Viking ovens use this bulb change?#
The same five steps are printed for the 3 Series electric wall ovens, the 5 and 7 Series electric ovens, the 3 Series gas, electric and dual fuel ranges, and the 7 Series ranges. Each model uses a halogen bulb under a clip-on glass cover. 123456
The wording across these manuals is close to identical, which is why one set of steps covers them all. The table lists where each is printed.
| Appliance | Manual | Page |
|---|---|---|
| 3 Series built-in electric 30 in single and double ovens (RVSOE330, RVDOE330) | Use & Care Manual 1 | PDF p.29 |
| Professional built-in electric single and double ovens (VSOE130, VSOE527, VSOE530) | Use & Care 2 | PDF p.29 |
| 3 Series freestanding 30 in gas range | Use & Care 3 | PDF p.21 |
| 3 Series freestanding 30 in electric range (RVER3301) | Use & Care MANUAL 5 | PDF p.23 |
| 3 Series freestanding 30 in dual fuel range | Use & Care 6 | PDF p.26 |
| 7 Series ranges and rangetops (VGR, VDR, CVDR) | Use & Care 4 | PDF p.30 |
The touch-control ovens in other manuals, and the microwave ovens, are not part of this guide; we did not read a bulb procedure for them.
What bulb do I buy?#
A halogen bulb whose volt and wattage match the requirements listed on the glass light cover. That is the whole specification in the manuals; none prints a part number, a base type or a wattage in the text. 1234
Read the rating from the cover, or from the old bulb if it is marked, before you order. Do not guess on wattage, since the cover is the only rating the manuals point you to. A halogen bulb is sensitive to skin oil, which is why the next section matters.
Why do the manuals warn about touching the bulb?#
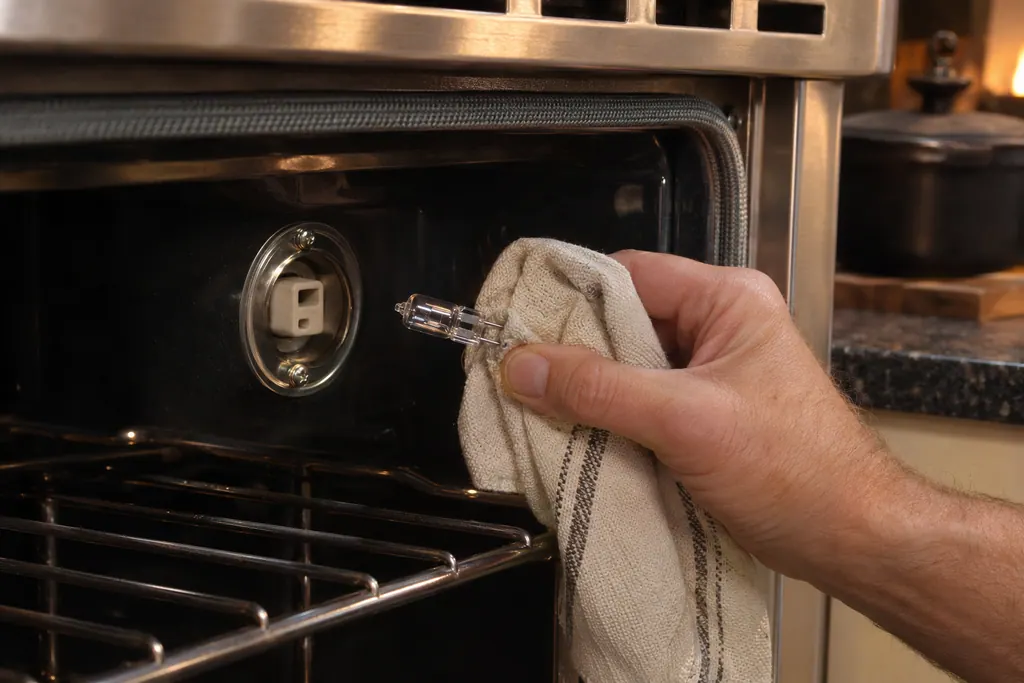
Two warnings sit beside the steps. Bare hands must not touch the bulb, any trace of oil is wiped off, and a soft cloth does the handling. And a bulb that is still hot can break if a damp cloth meets it. 1234
If a bulb does break, the manuals tell you to cut the appliance's power before taking out the pieces. 13 So there are two rules, one for the new bulb and one for the old: a cool oven, and a dry cloth. The step list below puts them in order.
What are the steps for swapping the bulb?#
With the breaker off, unsnap the glass cover, pull out the bulb, fit a halogen one that matches the cover's rating, snap the cover back and reconnect power. The manuals number these as five steps. 1234
- 1
- 2
- 3
- 4
- 5
- 6
- 7
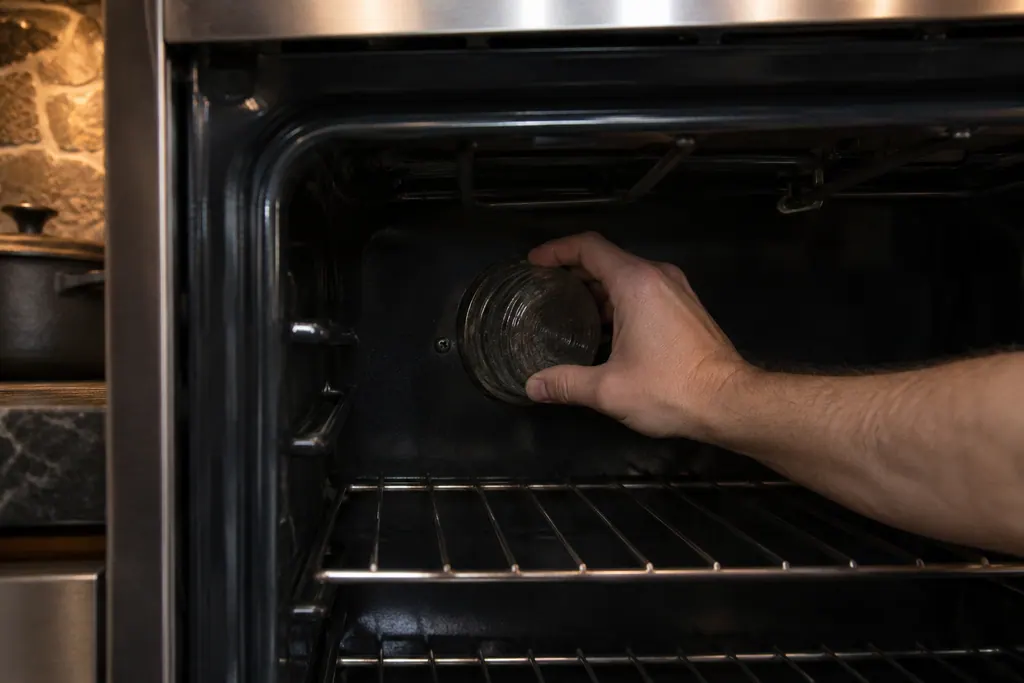
The manuals list five numbered steps; the cooling and test steps above are the sensible bookends for them. Keep the old bulb until the new one is working, so you can compare the rating.
Where is the light switch, and does it work every time?#
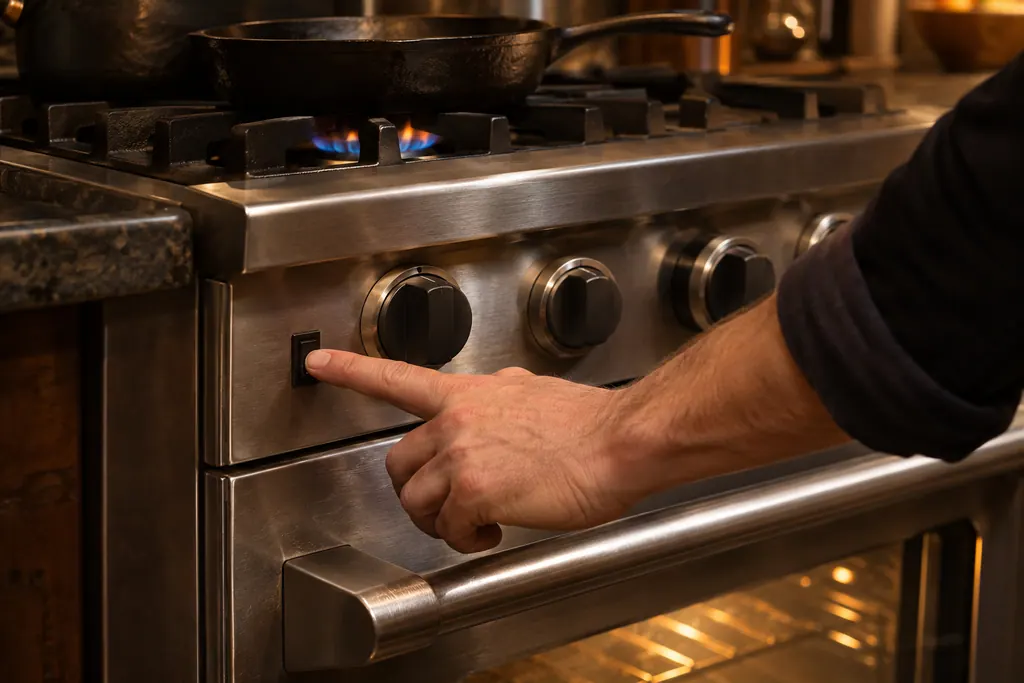
On the 3 Series wall oven, one switch on the control panel turns the interior lights on and off. On the 3 Series gas range and the 7 Series ranges the manual names an interior oven light switch on the control panel. 134
Two modes change the picture on the 3 Series wall oven. In Sabbath mode, when the door is opened, the oven light stays off while the convection fan and the heating elements keep going. In showroom mode, the display, controls and lights work, but the heating elements and fan do not. 1 So a dark oven in Sabbath mode is working as the manual describes.
My light is out. What else do the tables list?#
Two causes: the bulb is burned out, or the oven is not connected to power. Those are the only entries in the troubleshooting tables of every manual cited here. 1234
In the 5 and 7 Series table, the first row concerns an oven with no function at all: if the lights in the oven are not working, check the power at the breaker or have an electrician verify it; if the lights are working, check that the MANUAL/TIMED switch is in the MANUAL position. 2 That row is a useful way to tell a power problem from a bulb problem: a dark light with a working display points at the bulb, while a dark light and a dark oven point at supply. For an oven that also lacks heat, see oven not heating for the next checks.
How should I stay safe around the cavity?#
Keep the power off while the cover is open and work on a cool oven. The manuals warn of an electrical shock hazard and ask for the power to be disconnected at the main fuse or breaker. 1234
What if the cover or the socket looks damaged?#
Stop. The manuals describe only the bulb and cover and give no repair for a cracked cover, a loose socket or a scorched mark. Cleaning and replacement beyond that are not something to attempt with the power on.
If a bulb has broken, cut the appliance's power before removing anything, as the manuals say. 13 Take a photo of the cover and socket and book a visit instead of working around damage.
What helps a technician with a dark oven light?#
Say the model and series, how many ovens, whether the light fails in both ovens or one, what you replaced, whether the display works, and whether the light has flickered or popped before.
- Which oven (upper or lower) and which model?
- Did the new bulb match the volt and wattage on the cover?
- Is the breaker on, and does the display work?
- Did a bulb break or did the cover crack?
Our range service page lists the ovens and ranges we repair.
Sources#
- Use & Care Manual / 3 Series Built-In Electric 30” Single and Double Ovens / RVSOE330 / RVDOE330Viking Range, LLC (official manual PDF) · form F21196F EN · PDF p.6 (hot bulb warning), p.9 (light switch), p.13 (Sabbath and showroom), p.29 (replacing lights, troubleshooting)
- Use & Care / Professional Built-In Electric Single and Double Ovens / VSOE130 / VSOE527 / VSOE530Viking Range, LLC (official manual PDF) · printed code 066749-000 · PDF p.29 (replacing halogen lights, troubleshooting)
- Use & Care / 3 Series / Freestanding 30” Gas / Self-Clean Sealed Burner RangeViking Range, LLC (official manual PDF) · form F21184B EN · PDF p.6 (hot bulb warning), p.8 (light switch), p.21 (replacing lights), p.23 (troubleshooting)
- Use & Care / Professional Freestanding Ranges / Built-In RangetopsViking Range, LLC (official manual PDF) · form 066424-000 · PDF p.30 (replacing lights), p.33 (troubleshooting)
- Use & Care MANUAL / 3 SERIES / Freestanding 30” W. Electric Self-Clean Range / RVER3301, CRVER3301Viking Range, LLC (official manual PDF) · form F21192B EN · PDF p.23 (replacing lights)
- Use & Care / 3 Series / Freestanding 30” Dual Fuel / Self-Clean Sealed Burner RangeViking Range, LLC (official manual PDF) · form F21188B EN · PDF p.26 (replacing lights)